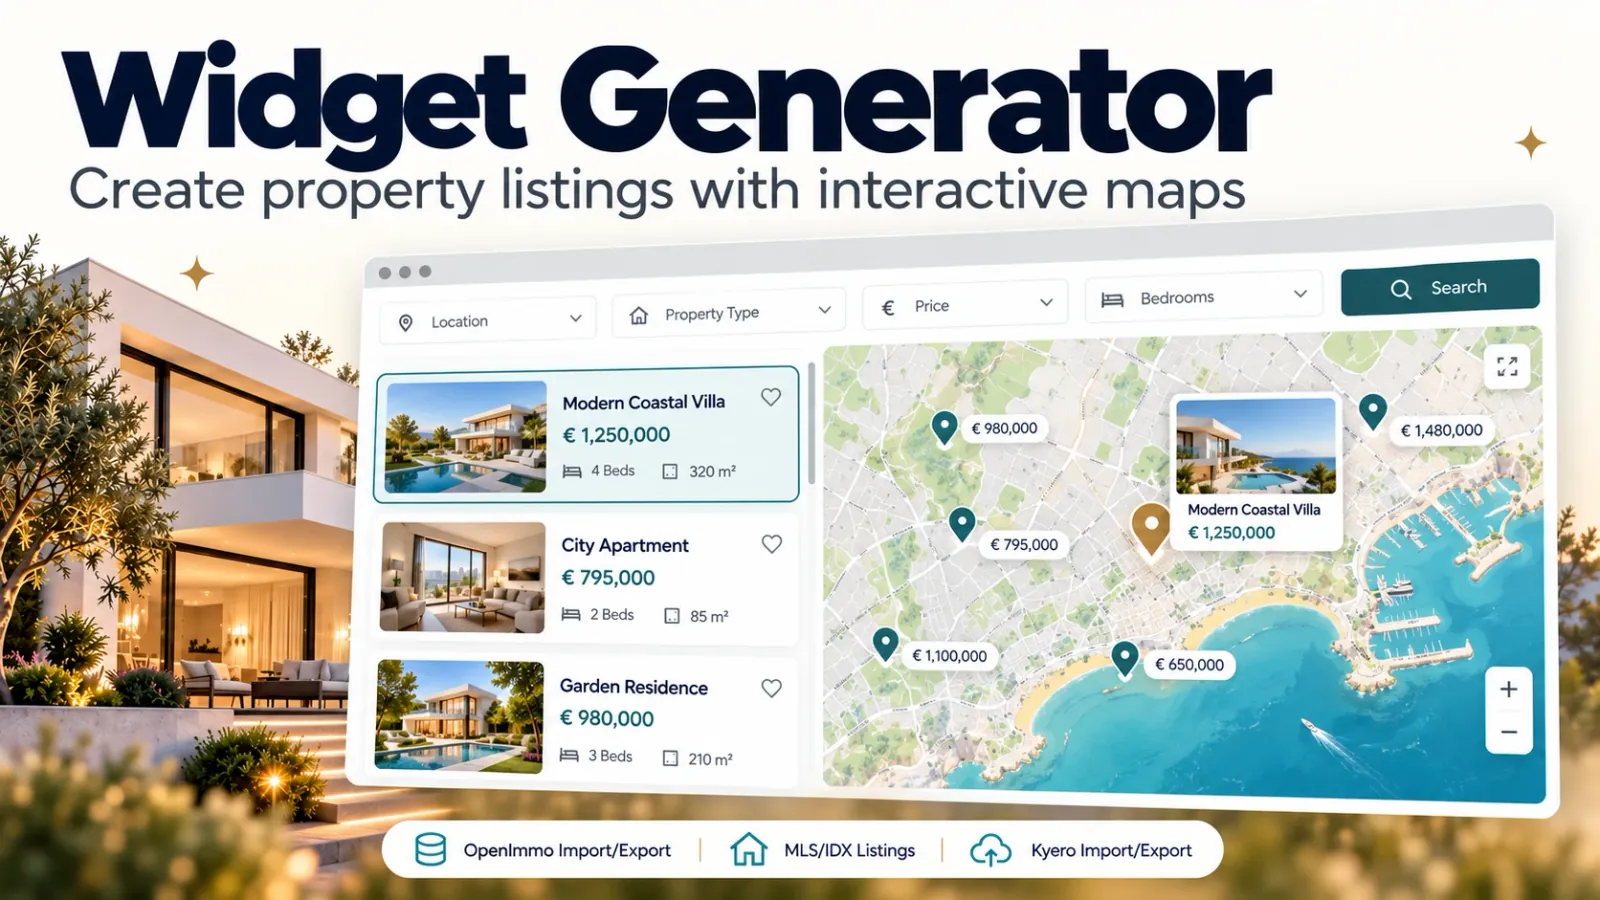
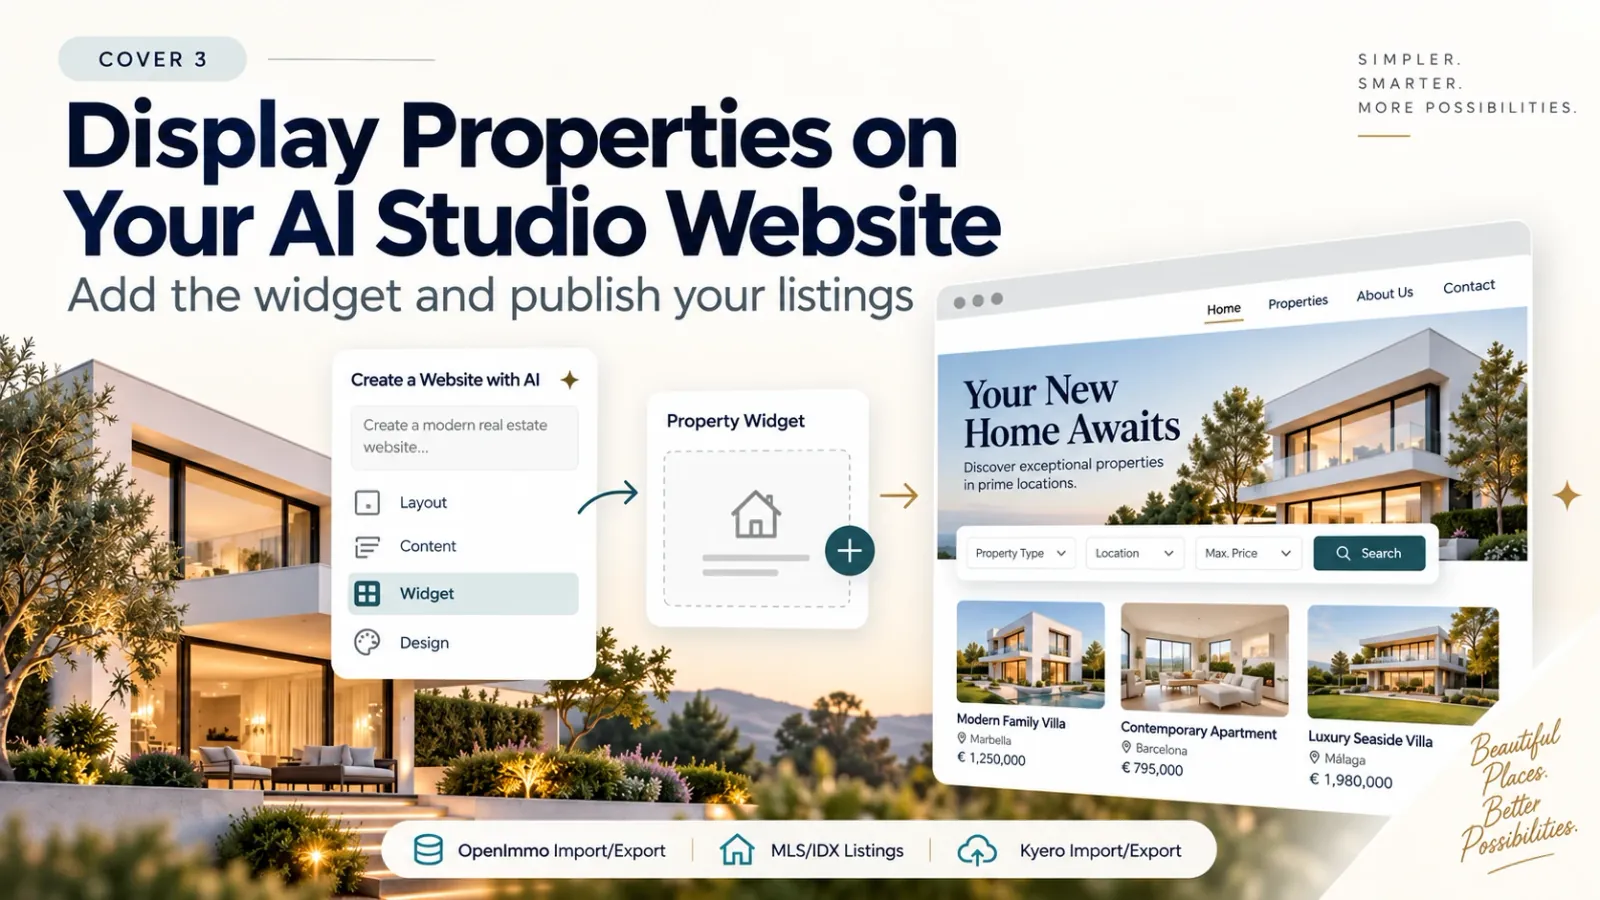
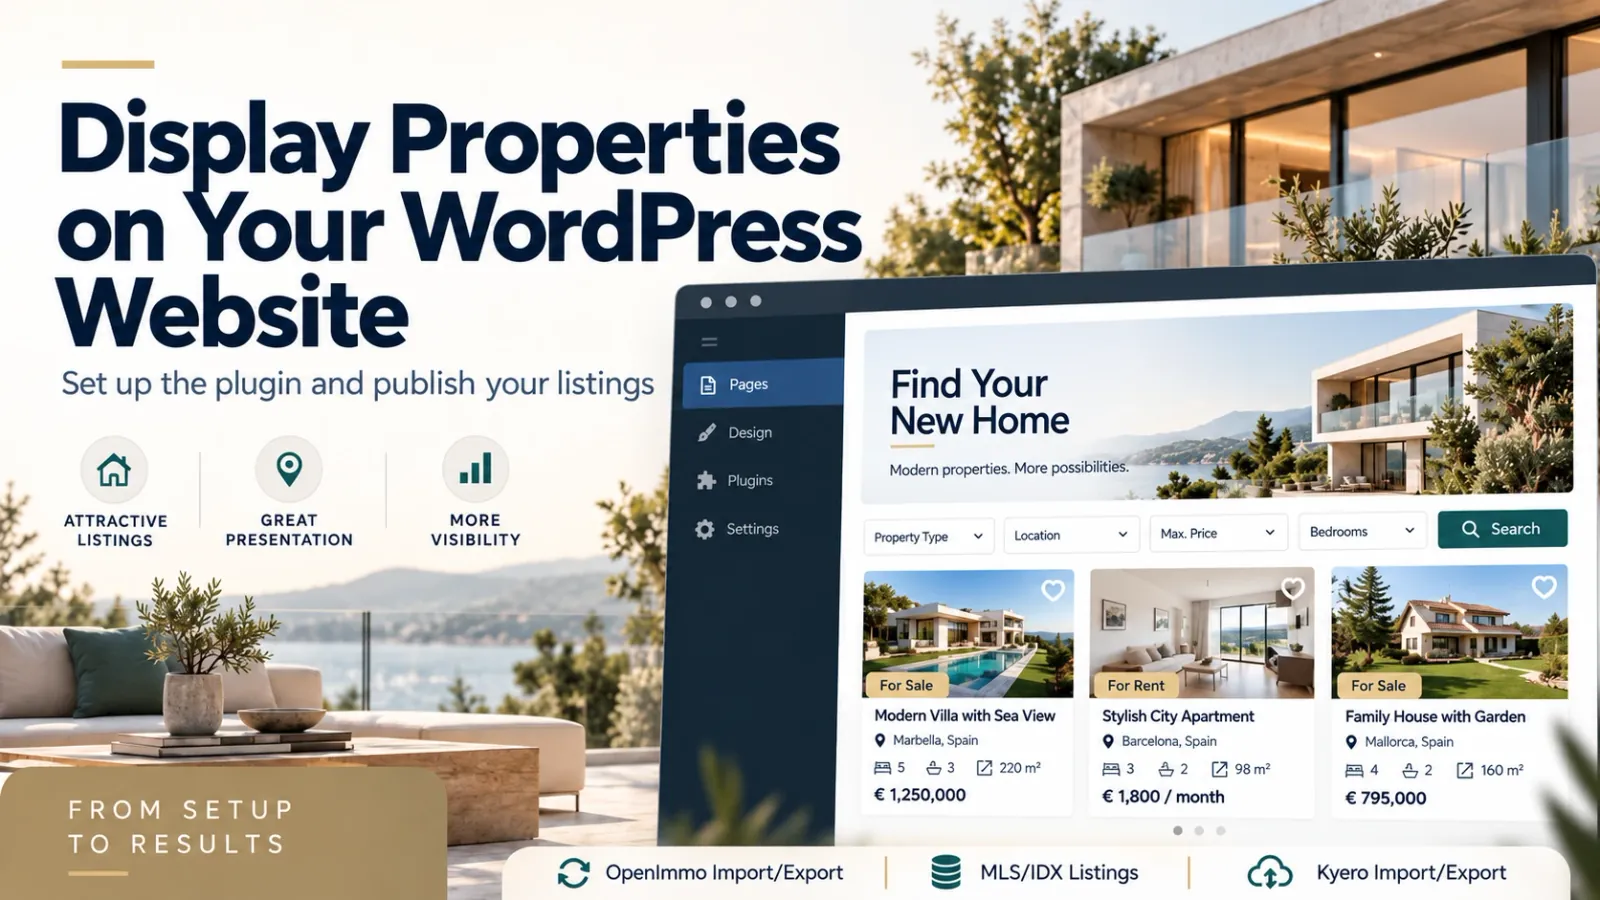
Setup & Property Import: Quick Start for Your Real Estate Website
How to get from a new Work247 account to a live property website: choose your market, connect your listings via MLS/IDX (US/Canada market), OpenImmo or Kyero (EU market), and check your portfolio.
5 min read
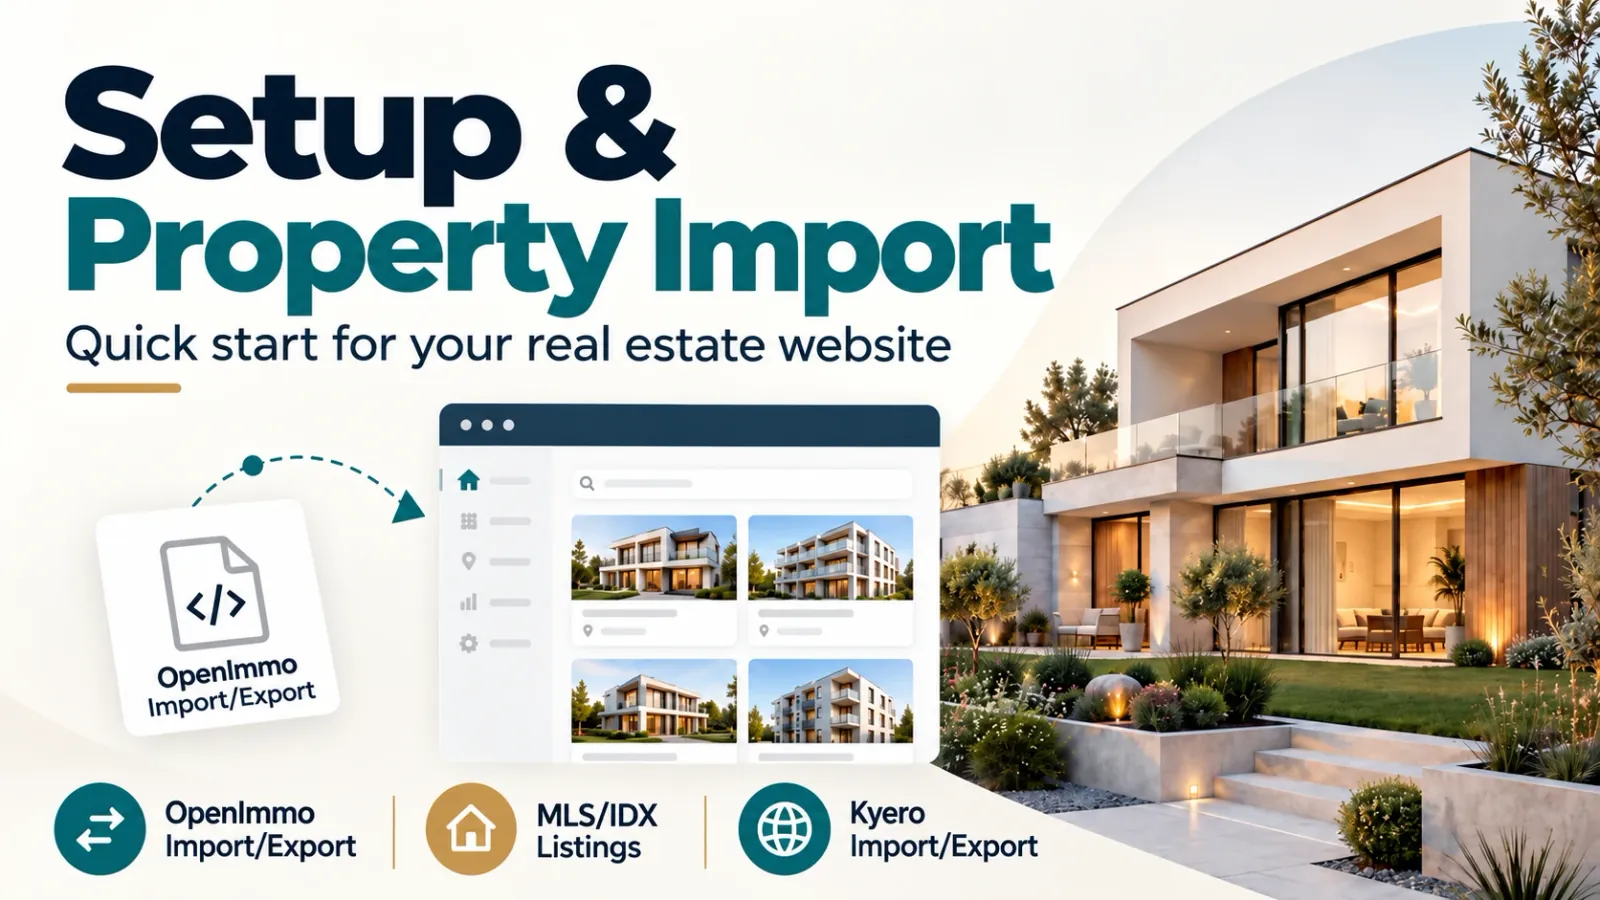
A real estate website is only as good as the listings behind it. Work247 keeps your portfolio in one place and pushes every change to your website automatically – so the first step is getting your properties in. This guide walks you through the setup, from your first login to an imported portfolio that is ready for your website.
1. Choose your market, language and source
When you open Work247 for the first time, you choose your market, your language and where your listings come from. The market decides the defaults for new properties: in the US and Canada areas are shown in sq ft and acres and prices in US or Canadian dollars; in Europe in m² and euros. Work247 then creates standard widgets for your website and offers sample properties, so you can try everything before your own listings arrive.
2. Connect your listings
Work247 supports the three ways listings travel in the real estate market. Pick the one that matches your business – or combine them:
- MLS/IDX (US/Canada market): connect your MLS via the RESO Web API, e.g. through Bridge, Trestle, Spark or MLS Grid. You need your own data access from your MLS or its data provider; licence and data fees are settled directly with them. Your own listings are imported every six hours as full properties; other agents' listings appear in your MLS search on your website.
- OpenImmo (EU market): Work247 provides a separate SFTP access for your account. Store these details in your real estate software (e.g. onOffice, FlowFact, Propstack or justimmo) and start an OpenImmo (EU market) export. Property data, images and PDF documents are imported automatically.
- Kyero (EU market – Spain, Portugal and more): import and export listings via a Kyero feed (EU market).
- No software at all? Create and edit properties directly in Work247.
3. Set up your website domain
- 1Open “Settings → Website settings” and enter the domain on which your widgets will be published.
- 2Add the reCAPTCHA site key and secret key to protect your enquiry forms against spam.
- 3Choose WordPress or “AI Studio / other website” and store the one-time code shown.
- 4Publish your website and click “Check domain now”. The widgets then work on this domain and all of its subdomains.
4. Check your portfolio
Open “Properties” to see what has been imported. Each property keeps its own unit and currency – an MLS listing in sq ft and US dollars, an OpenImmo (EU market) property in m² and euros. Locations are determined from the address automatically, so your properties can appear on a map right away.
5. Bring your listings to portals
In Europe, Work247 can also send your properties on: under “Settings → Exports” you create OpenImmo portal targets or a Kyero feed, and release each property individually. Only new, changed and deleted properties are transferred, and sold or rented properties are removed automatically. In the US and Canada, your MLS takes care of syndication.
Next step: your website widgets
Once your portfolio is in, create your first property widget – gallery, list, table, carousel or map – and embed it on your website. Read the Widget Generator guide to see how.